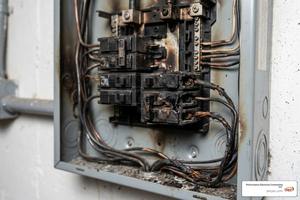

Understanding the Official Electrical Code for Light Switch Height
When building or remodeling, many homeowners assume every dimension on a wall is strictly governed by a universal federal blueprint. When it comes to wall controls, the reality is a mix of broad electrical safety boundaries, local building codes, and longstanding trade practices.
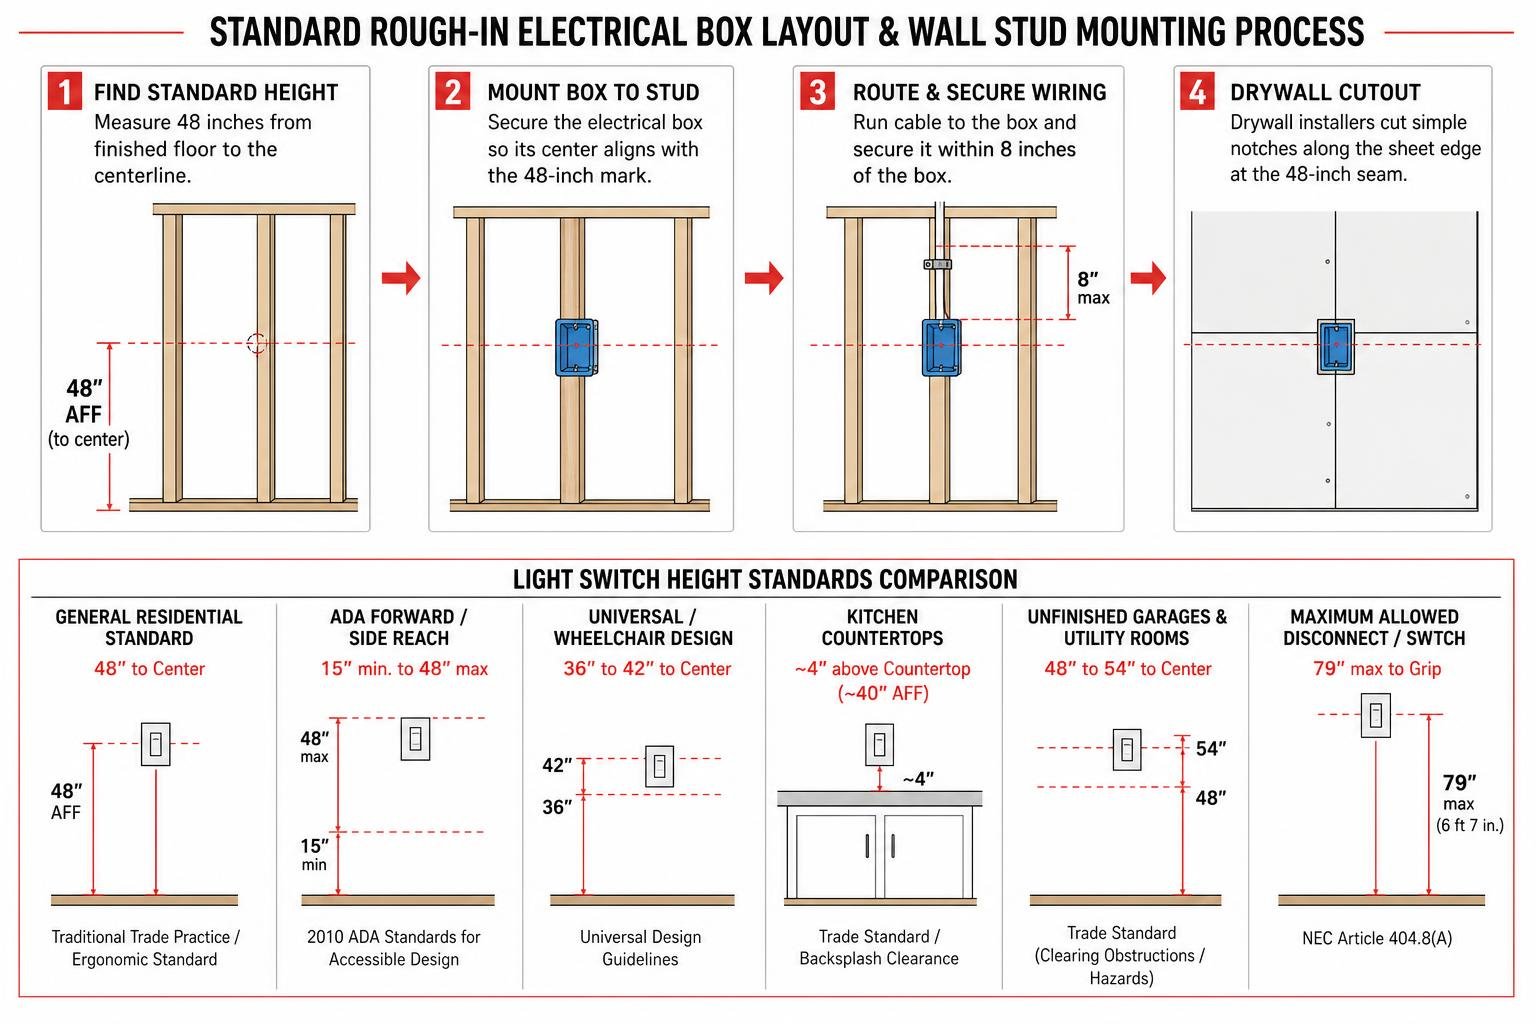
Under the National Electrical Code (NEC), specifically Article 404.8(A), all switches and circuit breakers used as switches must be located so that they may be operated from a readily accessible place. The rule establishes a hard ceiling: the center of the grip of the operating handle, when in its highest position, cannot be more than 6 feet 7 inches (2.0 meters) above the floor or working platform.
Outside of that maximum safety ceiling and specialized rules for hazardous or damp environments, the NEC does not mandate an exact mounting height for a standard bedroom, hallway, or living room light switch. Instead, the residential construction industry has standardized around a 48-inch height measured from the finished floor to the center of the electrical device box.
| Application / Space | Standard Measurement Point | Target Height | Primary Regulatory or Trade Source |
|---|---|---|---|
| General Residential Rooms | Finished Floor to Box Center | 48 inches | Traditional Trade Practice / Ergonomic Standard |
| ADA Forward/Side Reach | Finished Floor to Operable Switch Part | 15 in. min. to 48 in. max. | 2010 ADA Standards for Accessible Design |
| Universal / Wheelchair Design | Finished Floor to Center/Paddle | 36 to 42 inches | Universal Design Guidelines |
| Kitchen Countertops | Countertop Surface to Box Center | ~4 inches (approx. 40 in. AFF) | Trade Standard / Backsplash Clearance |
| Unfinished Garages & Utility Rooms | Finished Floor to Center of Box | 48 to 54 inches | Trade Standard (Clearing Obstructions/Hazards) |
| Maximum Allowed Disconnect/Switch | Finished Floor to Center of Grip | 6 feet 7 inches (79 inches max) | NEC Article 404.8(A) |
NEC Rules and Trade Conventions vs Mandates
Why has 48 inches become the undisputed trade standard across the United States if the NEC does not strictly mandate it? The answer comes down to drywall manufacturing and basic human ergonomics.
Standard gypsum drywall boards are manufactured in 4-foot by 8-foot sheets. When drywallers hang sheets horizontally across wall framing, the seam between the lower and upper sheet sits precisely 48 inches above the floor plate. Placing electrical rough-in boxes centered at 48 inches allows drywall installers to cut simple notches along the edge of the board rather than cutting enclosed holes in the center of a panel.
Beyond builder efficiency, 48 inches represents an ergonomic sweet spot. It sits comfortably near adult standing elbow height while remaining accessible to school-aged children and out of reach of unsupervised toddlers.
When managing builds across the Southeast, keeping installations uniform is essential for navigating electrical code compliance inspection rules and permits smoothly. While an inspector will not fail a private residential bedroom switch for being placed at 44 or 46 inches, sudden height variations from room to room create aesthetic flaws and fail trade quality checks.
Commercial Code for Light Switch Height Standards
In commercial structures, medical facilities, educational institutions, and public accommodations, light switch placement shifts from flexible trade conventions to legally enforceable mandates.
Commercial construction must comply with accessibility statutes such as the Americans with Disabilities Act (ADA) and state-specific accessibility codes, such as California Building Code Section 1136A or Florida Accessibility Code requirements. These codes enforce clear reach boundaries:
- Maximum High Reach: Controls, switches, and receptacles must not exceed 48 inches above the finished floor (AFF). In many statutory frameworks, this measurement is taken to the top of the outlet box or to the highest point of the operable switch mechanism, rather than the centerline.
- Minimum Low Reach: Receptacles and controls must not sit lower than 15 inches AFF, measured to the bottom of the outlet box.
In commercial tenant improvements (TI), electrical contractors must carefully coordinate device rough-ins against architectural plans to maintain universal accessibility. To learn more about how device layouts interface with broader regulatory frameworks, review the industry standards that power commercial electrical installation.
ADA Standards and Accessibility Guidelines for Wall Switches
The 2010 ADA Standards for Accessible Design provide clear, enforceable reach ranges for operable parts. An operable part includes light switches, wall dimmers, thermostats, fan speed controls, and emergency call buttons.
For an unobstructed forward reach or unobstructed side reach, the allowable range is between 15 inches minimum and 48 inches maximum above the finished floor. If the switch is installed over an obstruction, such as a base cabinet or counter:
- If the obstruction depth is 20 inches or less, the maximum high reach remains 48 inches.
- If the obstruction depth is between 20 and 25 inches (such as a standard 24-inch base cabinet with countertop overhang), the maximum allowable reach height drops to 44 inches.
- Obstructions beneath accessible controls cannot extend deeper than 25.5 inches from the wall plane.
Universal Reach Ranges and Wheelchair Accessibility
While a 48-inch centerline installation satisfies basic unobstructed ADA compliance, many builders practicing Universal Design or building custom homes for aging-in-place clients lower their light switches to 36 to 42 inches AFF.
A 36-to-42-inch mounting height offers key functional advantages:
- It matches the comfortable arm-pivot arc of seated individuals using wheelchairs, scooters, or mobility chairs.
- It sits at a convenient height for individuals using crutches, walkers, or canes.
- It aligns naturally with standard door handle heights (typically 36 inches AFF), creating a visually harmonious horizontal sightline along interior walls.
In addition to height, switch type matters. Traditional narrow toggle switches can be difficult for individuals with limited grip strength, arthritis, or motor control challenges. Modern accessible design favors large-paddle rocker switches (Decora style), push-pad buttons, motion sensors, or smart home touch panels that can be triggered with a gentle press of a palm, elbow, or forearm.
Applying Accessibility Code for Light Switch Height in Remodels
When retrofitting older homes or updating multi-family housing units to modern accessibility standards, relocating electrical boxes down framing studs can sometimes be challenging due to existing wire lengths or finished wall coverings.
In these situations, wireless and low-voltage smart automation offer effective non-invasive alternatives. Modern installations frequently implement software-configurable, wireless sub-switches and battery-free wall controllers that can be adhered at any accessible wall height without reopening drywall or pulling new home runs. Developers and electrical engineers building modern networked lighting often reference libraries/Zigbee/src/ep/ZigbeeColorDimmerSwitch.h when constructing custom smart switch endpoints for centralized, accessible home automation.
How to Measure and Install Light Switches by Room Type
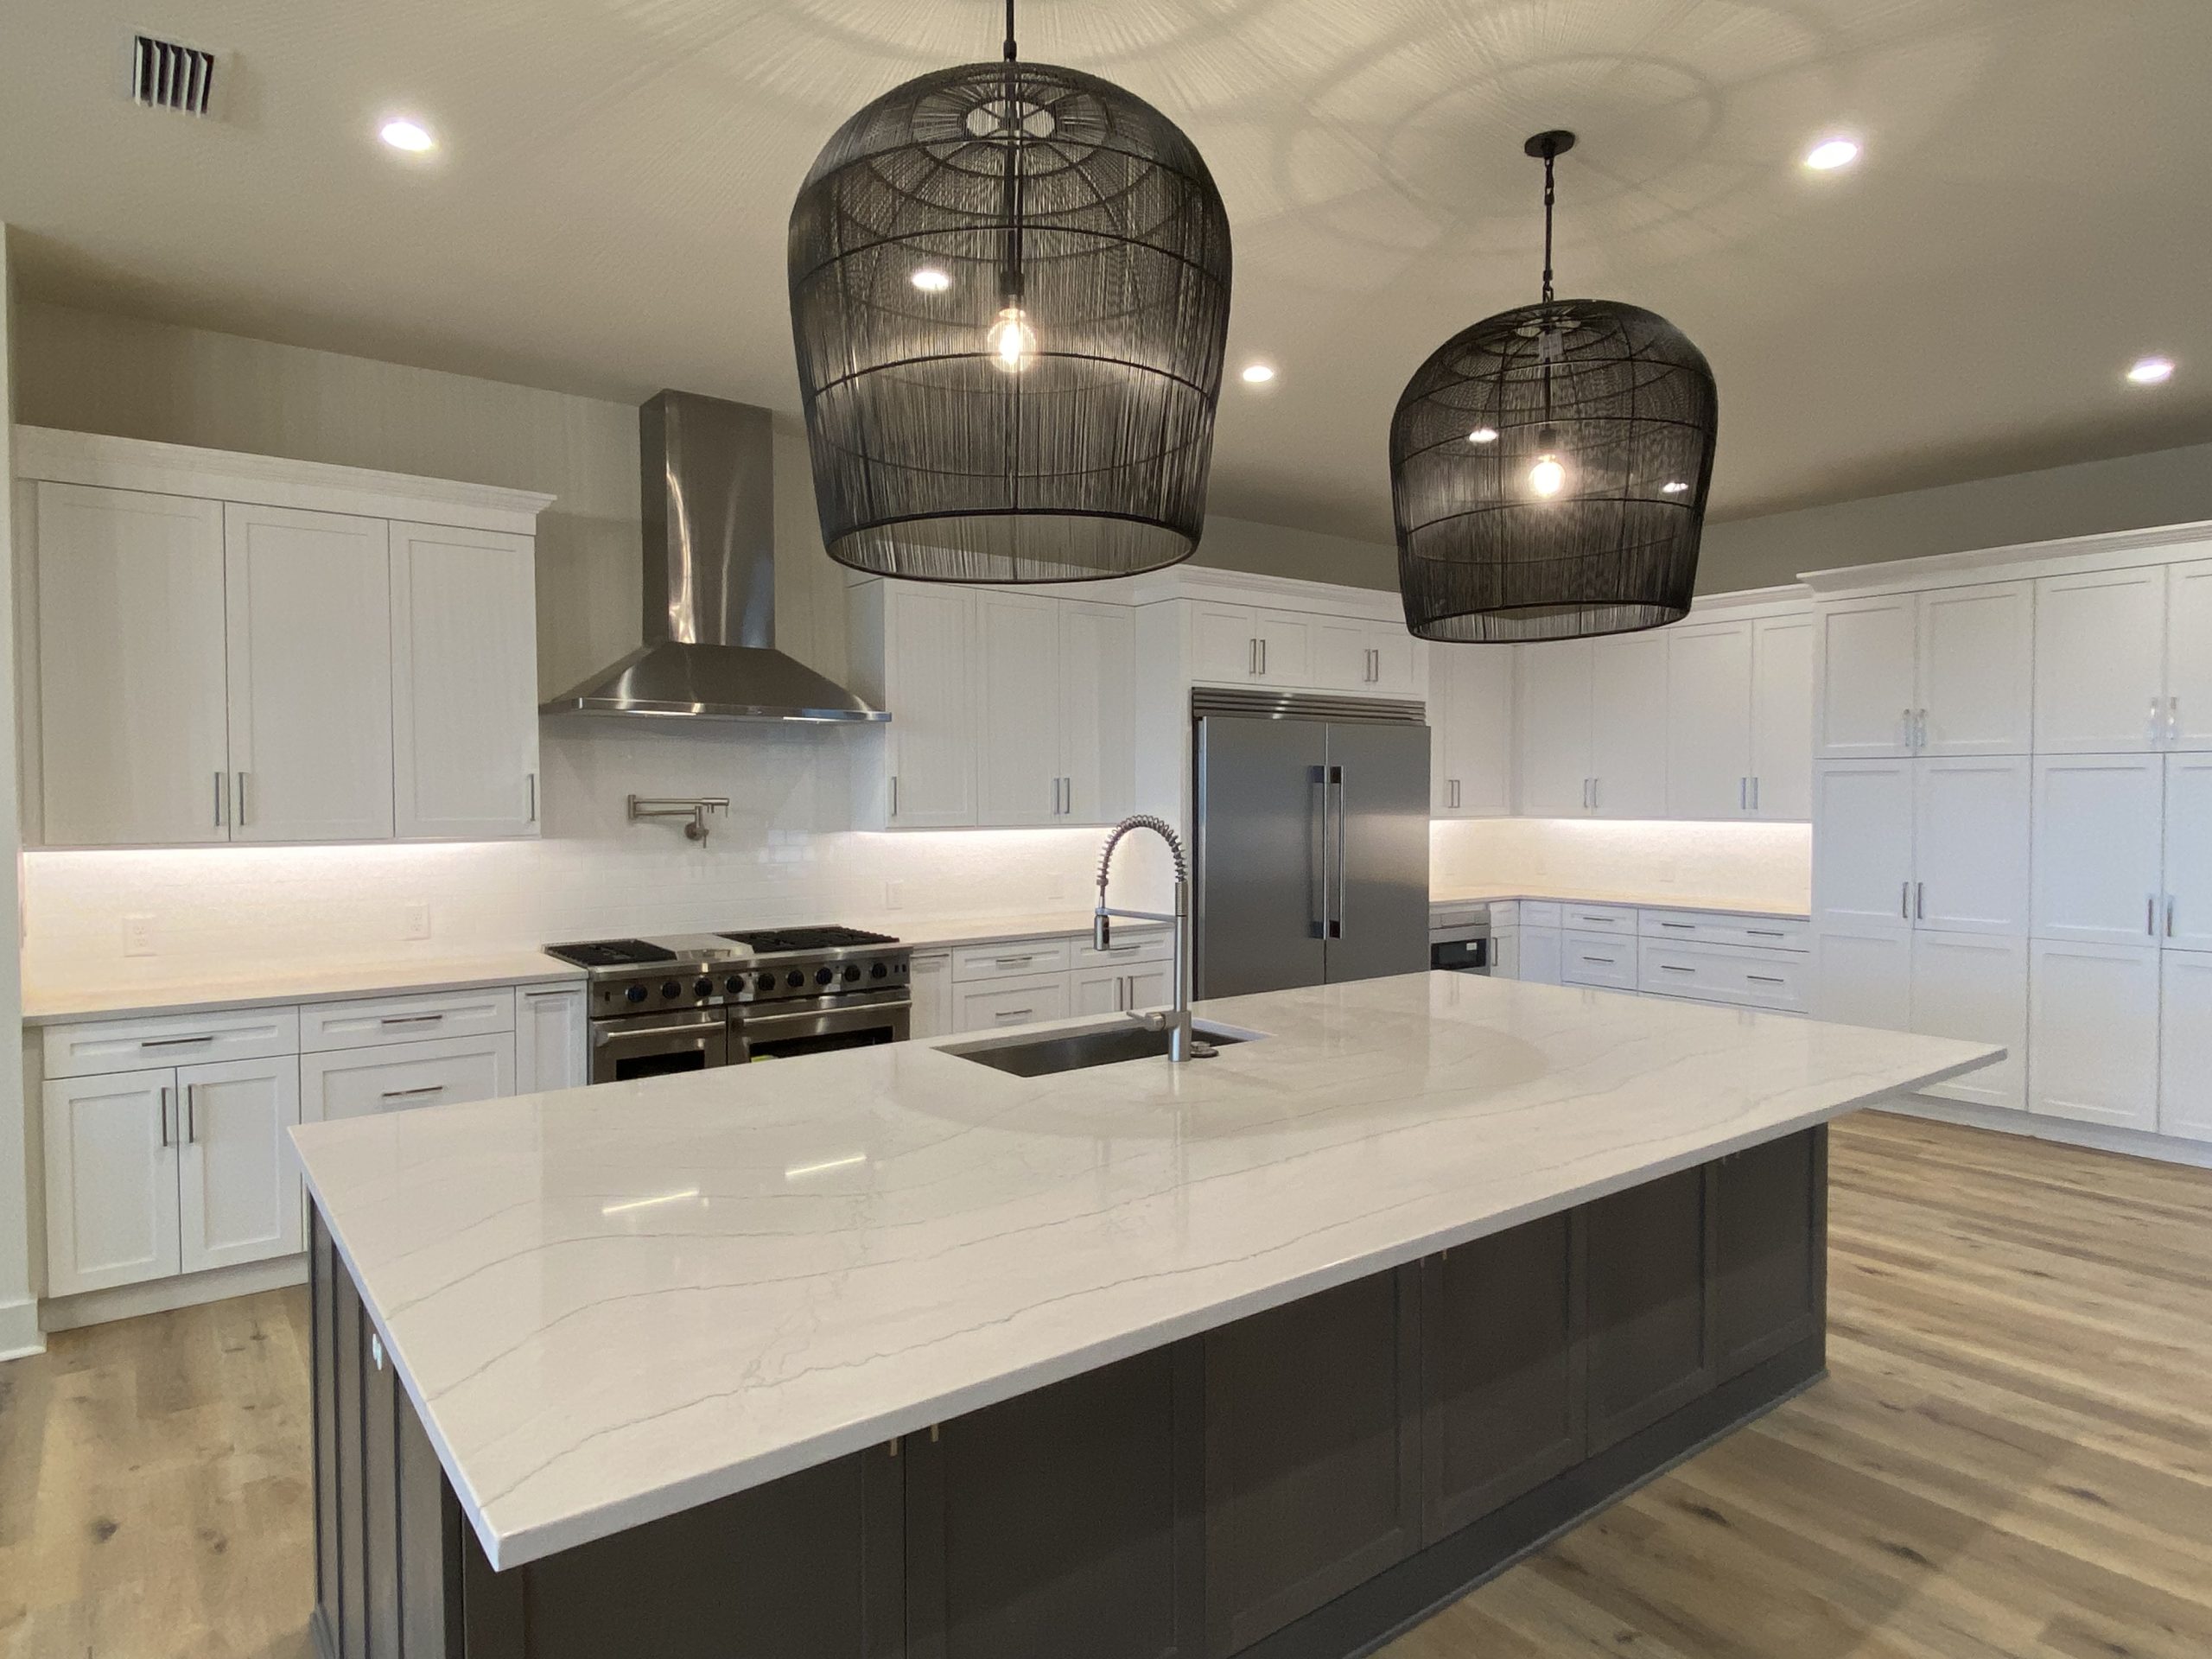
Different rooms present unique architectural features, moisture concerns, and functional requirements that alter standard mounting practices.
Kitchen Counters and Bathroom Vanity Placement
In kitchens and bathrooms, device placement is dictated by countertops, splash zones, and tile layouts.
Standard residential base cabinets are 34.5 inches high, and standard countertops add 1.5 inches of thickness, creating a finished work surface at 36 inches AFF.
- Kitchen Countertops: Wall switches for overhead task lighting, under-cabinet lighting, or garbage disposals are typically mounted 4 inches above the countertop surface, placing the center of the switch box at roughly 40 to 41 inches AFF.
- Tile Alignment: During rough-in, electricians should coordinate with tile installers. Shifting a switch box by half an inch up or down can prevent awkward cuts across decorative mosaic backsplashes or full-height subway tile borders.
- Bathroom Wet Zones: Safety codes strictly govern electrical controls in wet environments. Wall switches cannot be installed inside shower stalls or bathtub enclosures. Switches must be installed outside the wet zone perimeter, with GFCI protection applied where required by local code. Furthermore, for outdoor entertainment zones or hot tubs, electrical disconnects and timers must maintain at least a 5-foot horizontal separation from the water’s edge.
Garages, Basements, and Specialty Locations
Utility areas require adjusted device heights to prevent damage, clear obstructions, and avoid moisture accumulation:
- Workbenches and Tool Storage: In unfinished garages and workshops, wall switches and receptacles are frequently raised to 48 to 54 inches AFF. This elevation allows wall boxes to clear 36-to-42-inch workbenches, horizontal tool storage rails, and sheets of plywood leaned against the framing.
- Flood and Moisture Mitigation: In flood-prone regions, basements, or detached utility sheds, elevating all electrical devices well above the floor helps protect branch circuitry from seasonal water ingress.
- Furnace and Appliance Disconnects: Mechanical switches serving as equipment disconnects (such as an emergency burner or air handler switch) must be installed within clear, unobstructed line of sight of the appliance they serve, mounted at an intuitive standing height.
Step-by-Step Guide to Rough-In Box Mounting and Measurement
Executing clean, consistent rough-in box placement across an entire property requires a structured workflow:
- Confirm the Finished Floor Elevation (AFF): Determine the exact thickness of future subflooring, underlayment, tile, hardwood, or carpet. Never measure blindly from raw concrete or plywood framing plates without factoring in floor build-up.
- Fabricate a Story Pole or Story Jig: Cut a spare piece of 1×2 lumber or EMT conduit to exactly 48 inches (or your target project height). Mark your box centerline, top edge, and bottom outlet height (typically 12 inches) directly onto the stick. Using a physical story pole prevents tape measure reading errors across large jobs.
- Identify Door Swing and Stud Layout: Locate the door rough opening. Always mount the switch box on the strike/latch side of the doorway—never behind the path of the swinging door. Ensure a 2-to-4-inch clearance from the rough door framing to prevent conflicts with decorative door trim and casing.
- Mark Studs and Set Box Alignment: Place your story pole against the stud, mark your elevation line, and use a spirit level to ensure your box face will sit plumb and flush with the intended drywall thickness (typically 1/2-inch or 5/8-inch offset tabs).
- Secure the Electrical Box: Fasten the box securely using framing nails or approved mounting screws through the integral mounting brackets. Double-check that the box is rigid; loose rough-in boxes lead to sunken, wobbly wall plates after drywall finishing.
Centerline vs Top of Box Measurement Methods
A common point of confusion during electrical rough-ins is determining where the measuring tape lands on the box.
- The Centerline Method (Trade Standard): Most residential rough-in crews pull their measurement to the horizontal center of the single-gang box. If you aim for 48 inches AFF, the center screw holes of the box sit at 48 inches, meaning the top of the box rests around 50 inches and the bottom around 46 inches.
- The Top/Bottom Box Method (Code/ADA Compliance): Accessibility auditors and commercial building plans frequently define compliance by the box perimeter. For example, Section 1136A mandates that a control be no higher than 48 inches to the top of the outlet box and no lower than 15 inches to the bottom of the outlet box.
When building to strict commercial accessibility specifications, setting your rough-in box so the top sits at 48 inches ensures that the operable paddle or switch handle will never exceed the legal 48-inch high-reach boundary once the finished trim plate is installed. For developers programming networked lighting systems that tie into commercial hardware, firmware structures such as examples/espzigbeeHAsample/HAcolordimmableswitch/main/espzbswitch.c show how digital lighting controls align with modern low-voltage and high-voltage electrical assemblies.
Frequently Asked Questions About Light Switch Placement
Does the National Electrical Code mandate an exact residential light switch height?
No. The NEC does not specify an exact universal mounting height for standard residential light switches. It sets an upper limit in Article 404.8(A) stating that the operable handle cannot exceed 6 feet 7 inches (79 inches) AFF. The common 48-inch measurement is a standard trade convention established for human ergonomics, construction efficiency, and sheetrock alignment.
What is the standard height for light switches above kitchen countertops?
Light switches over kitchen countertops are typically mounted so the bottom of the wall plate sits roughly 4 inches above the countertop surface. Given standard 36-inch finished counter heights, this places the center of the electrical switch box at approximately 40 to 41 inches above the finished floor.
How do finished flooring materials affect rough-in switch height?
Measuring from rough subflooring without calculating finished floor materials can lead to height errors. For example, thick mud-bed tile, hardwood planks, or acoustic gym flooring can add between 1/2 inch to 1.5 inches of finished floor height. If you rough in a switch box at 48 inches from the raw slab, the final switch height will end up at 46.5 or 47 inches after flooring is laid. Always account for floor build-up before nailing boxes to wall studs.
Conclusion
Understanding the rules, trade standards, and accessibility requirements for light switch heights helps prevent costly rework and ensures your property is safe, functional, and visually appealing. Whether you are roughing in a single-family home at standard 48-inch centerlines, lowering switches to 36–42 inches for universal accessibility, or building a commercial facility adhering to strict ADA reach limits, precision during the rough-in stage is essential.
At Performance Electrical Contracting Inc., we partner with general contractors, commercial property owners, and developers across Jacksonville, FL and the Southeast to deliver reliable, code-compliant electrical solutions on time and on budget. For more information on maintaining regulatory compliance across your projects, explore our guide on common electrical code violations in Florida and how to avoid them.