
How to Find the Right Panel Replacement Parts
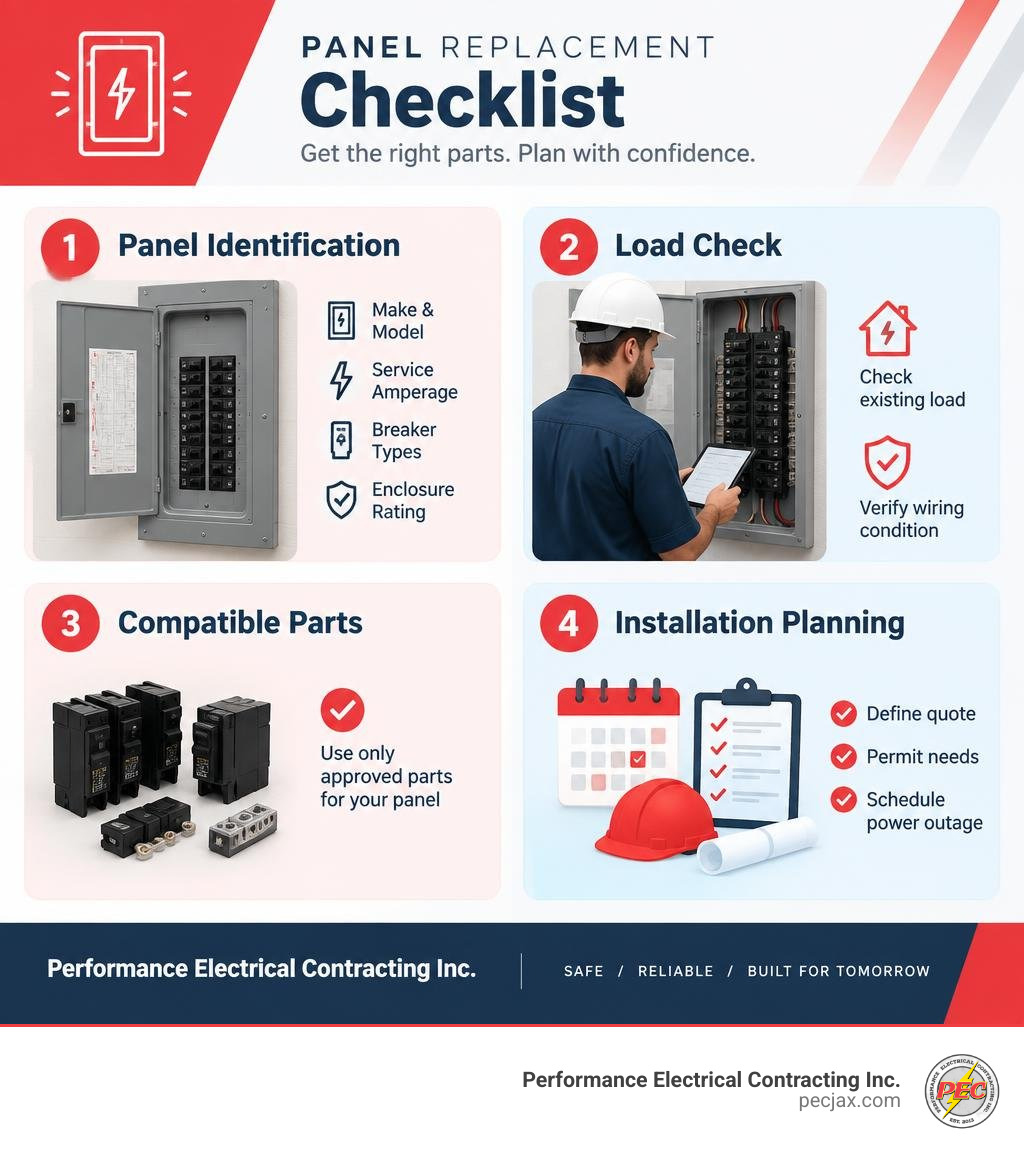
Start with the system, not a parts catalog. Have a licensed electrician confirm the panel’s make and model, service amperage, breaker types, and enclosure rating. Then check the building’s electrical load and whether the existing wiring is in good condition. Use only breakers and components approved for that panel. If the equipment is damaged, corroded, or cannot support the required load, ask whether a full panel replacement or service upgrade makes more sense.
For a property manager, that check also helps define the quote, permit needs, and planned power outage before work begins.
Understanding System Capacity, Panel Types, and Diagnostics
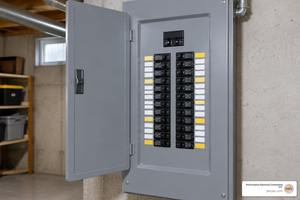
The electrical panel serves as the central command center for every circuit running through a building. When sourcing parts or planning maintenance, evaluating total capacity ensures everything operates reliably. Standard residential and light commercial panels traditionally ranged from 60 to 100 amps, but modern high-draw appliances—such as electric vehicle (EV) charging stations, multi-zone heat pumps, and induction cooktops—frequently require 200-amp or 400-amp configurations.
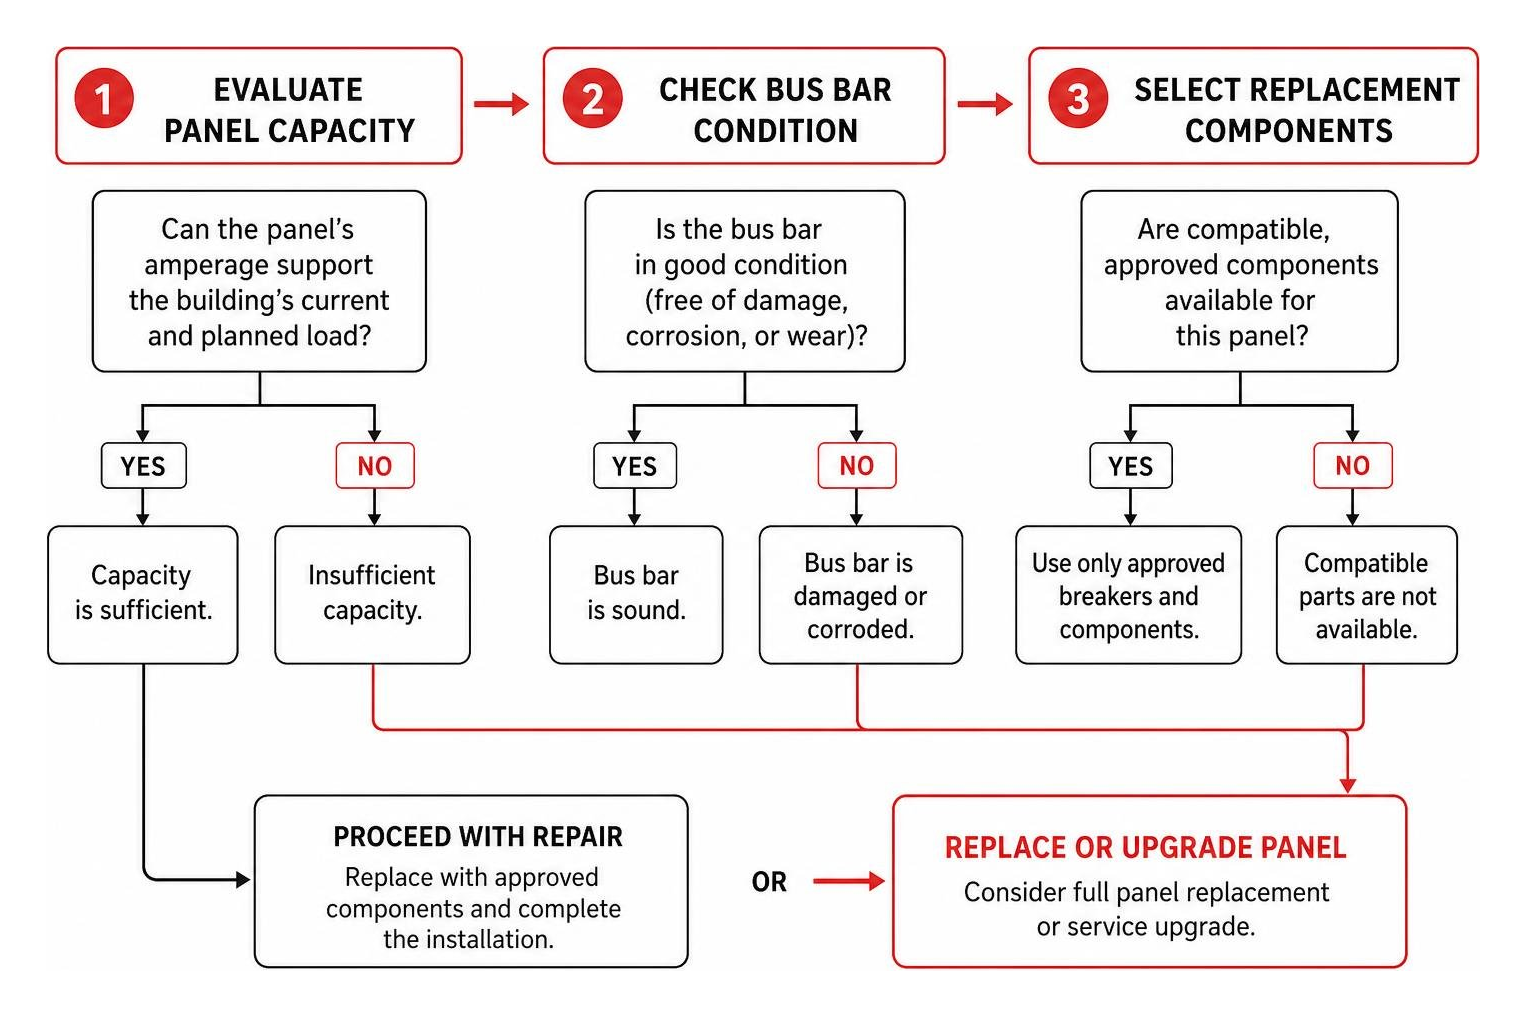
Before purchasing any replacement component, assessing load demands is essential. Proper electrical capacity planning for growing homes prevents systemic overloads that lead to premature wear on main breakers. In commercial settings, where machinery, lighting grids, and HVAC units pull continuous loads, specialized commercial electrical services are vital for calculating demand factors and determining enclosure specifications—such as NEMA 1 ratings for indoor dry spaces or NEMA 3R for weather-resistant outdoor setups.
Identifying Outdated and Recalled Panel Brands
Not every panel issue can be solved by simply swapping a breaker. Certain vintage electrical panels installed between the 1950s and 1980s have documented design defects that pose significant fire hazards. Sourcing direct replacement components for these units is unsafe, and in many jurisdictions, modern codes strictly prohibit re-installing defective equipment.
- Federal Pacific Electric (FPE) / Stab-Lok: Research and real-world testing have shown that Stab-Lok breakers often fail to trip under direct overcurrent or short-circuit conditions, leading to extreme bus bar overheating.
- Zinsco / GTE-Sylvania: These panels are prone to catastrophic failures where the breaker clips melt directly onto the aluminum bus bar, preventing the breaker from ever cutting power.
- Pushmatic (ITE/Bulldog): These mechanical push-button units stiffen and jam over time, failing to break the circuit when a surge occurs.
Property owners with these legacy units often encounter severe homeowners insurance restrictions or complete policy non-renewal until a full upgrade is completed. Implementing comprehensive electrical safety solutions by replacing these obsolete systems protects the structure and guarantees that every circuit cuts power before heat damages wiring.
Understanding When Panel Replacement Outweighs Simple Repairs
Determining whether to repair an individual breaker or replace the entire panel assembly comes down to system age, structural integrity, and safety. Most electrical panels have a service life of 25 to 40 years. When a unit is under 25 years old and structurally sound, replacing a single worn single-pole breaker or addressing a loose terminal screw is a practical, cost-effective fix.
However, if physical wear extends to the structural core of the box—such as pitted bus bars, severe coastal rust, or charred insulation—a repair is only a temporary patch. Knowing when your home needs an electrical safety inspection helps catch localized problems before thermal damage spreads across adjacent branch circuits.
| Condition Metric | Minor Repair Candidate | Full Panel Replacement Required |
|---|---|---|
| System Age | Under 25 years old | 25 to 40+ years old |
| Bus Bar Condition | Clean, unblemished, secure contacts | Corroded, burned, melted, or pitted metal |
| Breaker Function | Single isolated breaker trips occasionally | Multiple breakers constantly trip; burning smells |
| Expansion Room | Available empty slots for new circuits | Bus bar fully occupied; tandem slots exhausted |
| Brand Status | Modern, actively supported brand | Recalled manufacturer (FPE, Zinsco, Pushmatic) |
| Environmental Wear | Dry enclosure, zero moisture intrusion | Water damage, heavy rust, coastal salt corrosion |
How to Select the Correct Electrical Panel Replacement Hardware
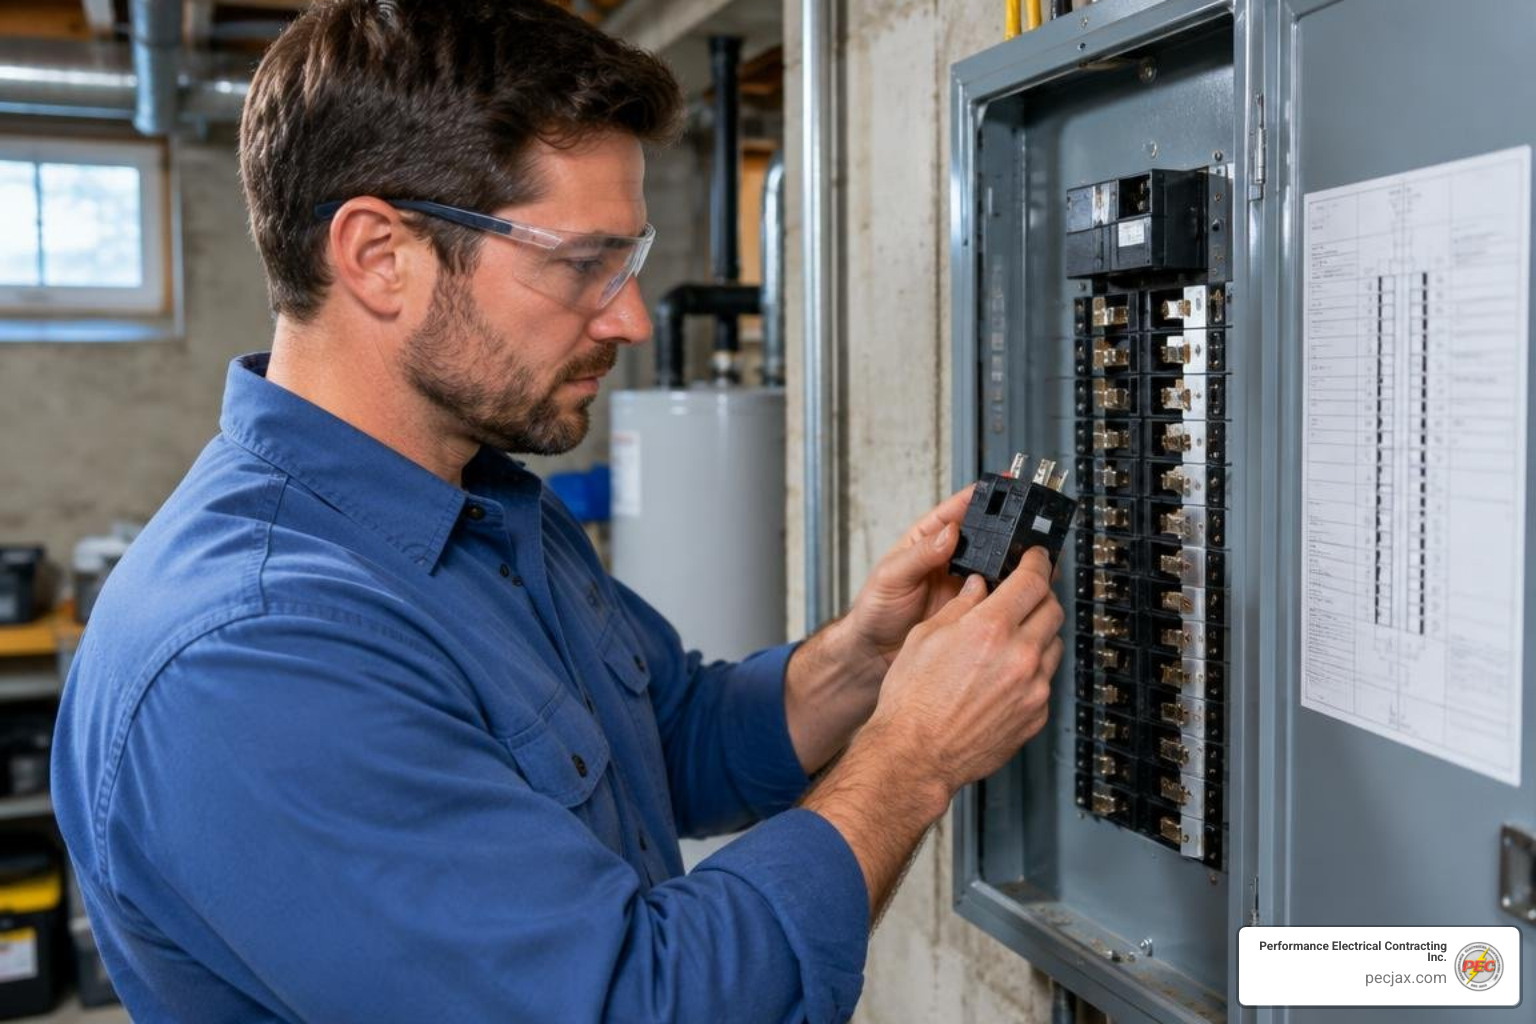
When selecting hardware, cross-compatibility is everything. Circuit breakers are engineered to fit distinct bus bar track profiles. Placing an incompatible brand into an enclosure can create loose mechanical connections, arcing, and localized heat build-up. Always match parts according to the panel’s interior label diagram. Reviewing a detailed guide on electrical panel replacement criteria and costs provides additional clarity on selecting between main-lug-only panels (fed from an upstream disconnect) and main-breaker configurations that house the building’s primary shutoff mechanism.
Matching Breaker Types, Amperage, and Compatibility
Building codes have evolved significantly to prioritize occupant safety. Today’s National Electrical Code (NEC) mandates specialized safety breakers across multiple residential zones:
- Standard Thermal-Magnetic Breakers: Protect standard branch circuits from basic overloads and short circuits.
- Ground-Fault Circuit-Interrupters (GFCI): Required in areas where water is present (bathrooms, kitchens, garages, outdoor outlets) to prevent lethal electric shocks.
- Arc-Fault Circuit-Interrupters (AFCI): Detect unintended electrical arcing (such as a nail pierced through an in-wall wire), preventing hidden electrical fires in living areas and bedrooms.
- Tandem Breakers (Cheater Breakers): Allow two narrow circuits to occupy a single physical slot, but only if the panel’s bus design is explicitly UL-listed for tandem usage.
When swapping old hardware, coordinating panel repairs with upgrading old electrical outlets and switches guarantees that modern AFCI/GFCI breakers function without nuisance tripping.
Sourcing Specialty and Industrial Panel Replacement Components
Industrial facilities and commercial buildings rely on more than standard residential load centers. Automated production lines, hospitality kitchens, and commercial control rooms depend on Human-Machine Interfaces (HMIs) and custom control cabinets.
When an industrial control interface fails, sourcing complete, pre-configured hardware kits minimizes expensive production downtime. For example, specialized industrial panel replacement kits and interface hardware supply plug-and-play LCD touchscreens with rated lifespans exceeding 50,000 hours, eliminating the need to alter programming or rewire control backplanes. Identifying early warning signs in commercial electrical systems—such as unresponsiveness, flickering displays, or buzzing relays—allows maintenance teams to order exact component matches before line failure occurs.
Financial Factors, Cost Drivers, and Insurance Considerations

Understanding the financial variables behind electrical work helps property owners budget accurately. The national average cost to replace an electrical panel is approximately $1,342 to $2,500, with prices spanning from $125 for minor component repairs to $4,500 for complex panel installations. When extensive home rewiring or service entrance relocation is required, total costs can climb toward $10,000.
For additional reference, consulting home improvement insights on electrical panel replacement costs highlights how labor accounts for a significant portion of total billing, as certified electricians dedicate 4 to 8 hours for an on-site swap and up to 20 to 30 hours for larger rewiring projects. Integrating high-efficiency equipment alongside energy-efficient electrical upgrades can also unlock regional utility rebates that offset overall project expenses.
Evaluating Same-Amperage Swaps vs. Full Service Upgrades
There is an important operational difference between a straight panel replacement and a comprehensive service upgrade. A same-amperage replacement swaps a damaged 200-amp box for a new 200-amp box, reusing existing service entrance conductors. A service upgrade, however, boosts overall capacity (for example, moving from 100 amps to 200 amps), requiring larger exterior service cables, a heavy-duty meter base, and direct utility coordination.
| Service Upgrade Type | Average Cost Range | Typical Labor Duration | Major Components Involved |
|---|---|---|---|
| 100-Amp Replacement (Like-for-Like) | $850 – $2,500 | 4 – 6 Hours | 100A enclosure, modern breakers, grounding update |
| 200-Amp Replacement (Like-for-Like) | $1,500 – $3,000 | 4 – 8 Hours | 200A enclosure, AFCI/GFCI breakers, whole-home surge |
| 100-Amp to 200-Amp Service Upgrade | $1,800 – $4,500 | 8 – 16 Hours | Enclosure, meter socket, service entrance conductors |
| 400-Amp Commercial/Residential Upgrade | $2,000 – $6,000+ | 16 – 24+ Hours | Dual-meter base, two 200A subpanels, commercial drop |
Insurance Coverage, Home Warranties, and Hidden Expenses
Property owners often wonder whether insurance or home warranties offset panel expenses:
- Homeowners Insurance: Standard policies generally do not cover panel upgrades resulting from routine aging, general wear, or recalled hardware. Insurance coverage typically applies only if the panel sustains sudden, direct damage from a covered event, such as a lightning strike or an electrical fire.
- Home Warranties: Some service contracts cover limited breaker replacements or minor repairs, but they frequently impose strict caps (often $500 per claim) and charge call-out service fees.
- Hidden Project Costs: Budgeting a 10% to 20% contingency is wise. Upgrades can reveal hidden complications, such as degraded grounding rods, damaged conduit, or drywall cutting required to access embedded junction boxes. In coastal and storm-prone regions, avoiding common Florida electrical code violations means ensuring outdoor disconnects and weatherheads meet current wind-load and moisture-sealing standards.
Code Compliance, Professional Installation, and Safety Standards
Every modern panel installation must adhere to strict National Electrical Code (NEC) guidelines. Key provisions govern workspace clearances (requiring a minimum of 36 inches of clear depth in front of the box), dedicated grounding electrode systems (driven ground rods with bonding to metallic water lines), and mandatory surge protection devices (SPDs).
Understanding the regulatory process is simple when navigating electrical code compliance inspection rules and permits. Licensed contractors manage the technical submittals, coordinate the power shutoff window with local utility providers, and schedule the mandatory municipal inspections that validate the installation.
Professional Workflow vs. High-Risk DIY Installation
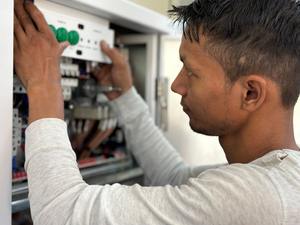
Attempting a DIY panel replacement is dangerous. The incoming service entrance cables upstream of the main breaker remain energized even when the main switch is turned off. Contact with these live lugs carries a severe risk of electrocution.
Furthermore, unpermitted homeowner installations can void homeowners insurance policies, leaving owners completely liable if a fire occurs. A professional installation follows an orderly safety protocol:
- Site Assessment & Load Calculation: Verifying that total household electrical loads do not exceed rated enclosure limits.
- Utility Disconnection: Coordinating with the power company to safely pull the meter and de-energize the service mast.
- Old Panel Removal: Carefully cataloging, tagging, and disconnecting individual branch circuit conductors.
- Enclosure Mounting & Modern Upgrades: Installing the new enclosure, integrating required AFCI/GFCI breakers, and wiring a whole-home surge protector.
- Circuit Balancing & Testing: Distributing loads evenly across both 120V bus legs, torqueing terminals to manufacturer specifications, and testing line continuity.
- Utility Reconnection & Final Inspection: Passing municipal inspection and restoring continuous power to the building.
Permitting Protocols and Final Inspection Requirements
In virtually every municipality across the United States, replacing an electrical service panel requires an official electrical permit and an on-site inspection. Even when executing an identical, same-amperage panel swap, building departments require an inspector to verify proper wire sizing, correct breaker torque values, adequate grounding bond resistance, and compliant labeling. Keeping this signed inspection documentation on file is vital when selling the property or proving system safety to insurance underwriters.
Sourcing Stationary Door and Window Panel Hardware
While electrical panels manage power distribution, architectural property maintenance often requires sourcing physical door and window panel replacements. Damaged patio doors and broken window units cause thermal loss, air infiltration, and compromised structural integrity.
- Window Panel Replacement: Replacing a single insulated glass panel typically ranges between $350 and $1,200, depending on dimensions, frame materials (vinyl, wood, or aluminum), and specialized coatings (such as Low-E thermal coatings or impact-resistant lamination). Labor rates for specialized glazing work range from $60 to $200 per hour. Consulting an updated window panel replacement cost guide helps owners compare regional pricing variables.
- Stationary Patio Door Panels: Sourcing replacement glass inserts for hinged inswing patio doors requires exact adherence to manufacturer specifications. Utilizing factory-approved stationary door panel replacement guidelines ensures that weatherstrip clips are placed precisely 1 inch from ends and that stationary jamb brackets support the heavy insulated glass assembly safely during installation.
Frequently Asked Questions About Electrical Panels
What is the difference between an electrical panel replacement and an upgrade?
A panel replacement is a “like-for-like” swap where an existing box is replaced with a new, modern unit operating at the exact same amperage (e.g., swapping an old 200-amp box for a new 200-amp panel). A panel upgrade involves increasing the total electrical capacity of the property (such as moving from 100 amps to 200 or 400 amps), which requires heavier utility entrance conductors, a larger meter socket, and utility company approvals.
Does homeowners insurance cover the cost of replacing an electrical panel?
Standard homeowners insurance policies generally exclude normal wear, age-related deterioration, and the proactive replacement of obsolete or recalled panels. Coverage is usually granted only if the panel is damaged by a specific covered peril, such as a direct lightning strike, sudden utility power surge, or structural fire.
How long does an electrical panel replacement take?
The physical on-site work for an electrical panel replacement typically takes between 4 and 8 hours. During this period, the building’s electrical power is completely shut off. If extensive house rewiring, service mast relocation, or complex subpanel routing is required, the overall project timeline can extend over multiple days.
Conclusion
Finding the right panel replacement hardware requires matching system capacity, adhering to safety codes, and working with verified components. Whether you are addressing an isolated breaker trip, removing an outdated legacy unit, or preparing a facility for high-demand modern equipment, proper installation practices protect your property and ensure stable, efficient power delivery for decades.
At Performance Electrical Contracting Inc., our certified electricians deliver dependable, code-compliant solutions tailored to your building’s exact power demands. We handle everything from initial load calculations and permit acquisition to utility coordination and final safety inspections across Jacksonville, FL and the Southeast. Contact our team today to schedule your assessment and explore our full range of professional residential electrical services.